You may have seen many blog post on this topic, How to install Bluehost on WordPress on Bluehost. But, sometimes Bluehost changes their user interface from time to time.
It’s very hard to find updated step by step guide for How to install WordPress on Bluehost or any other managed and unmanaged host. In the series of
In the future post, I will cover other host providers including Hostgator, GoDaddy, Dreamhost, SiteGuard and some cloud services provider AWS, Google Cloud and Microsoft Azure.
Before going into detail I will provide as much as detail to you about the quick installation of WordPress on Bluehost.
Step 1: Registration with Bluehost
Go to the bluehost.com and you will see the homepage with get Started Now:

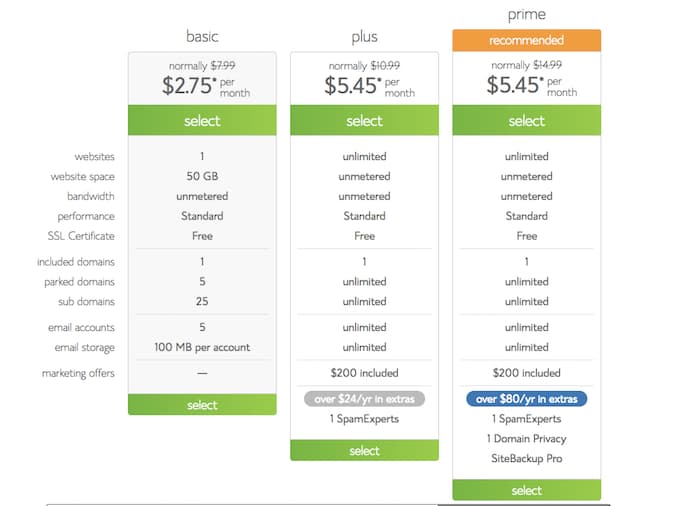
you will see the 3 different plan. I would recommend you signup for the prime plan it’s $5.45/ month and it includes unlimited website hosting with an unlimited domain with much more feature.
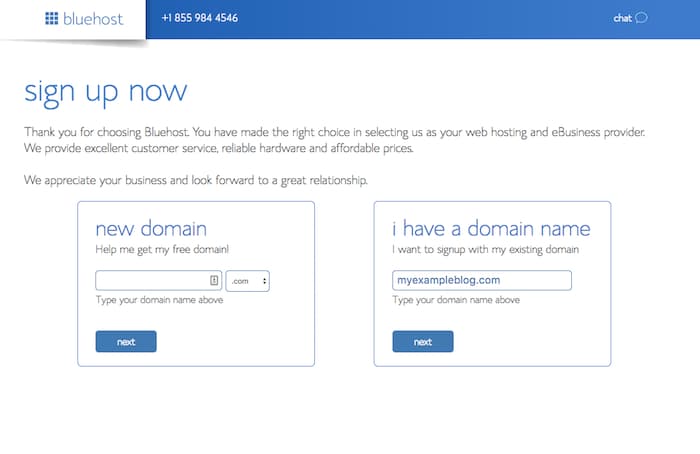
Once you click on the prime plan you have to enter the domain name which you want to create or if you already have a domain name then just enter that domain name.
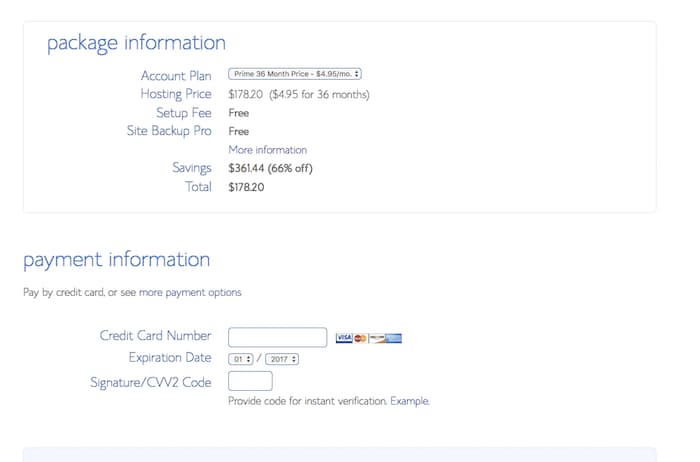
The pro tip is When you go outside of your browser viewport, you will see the popup and that has include coupon code with a discount rate of $4.95/month.
That’s the cheapest plan I found online for the prime plan.

Enter your credit card detail, if you find any difficulty with your payment method or your payment method is not accepted then email me the detail I will help you regarding this.
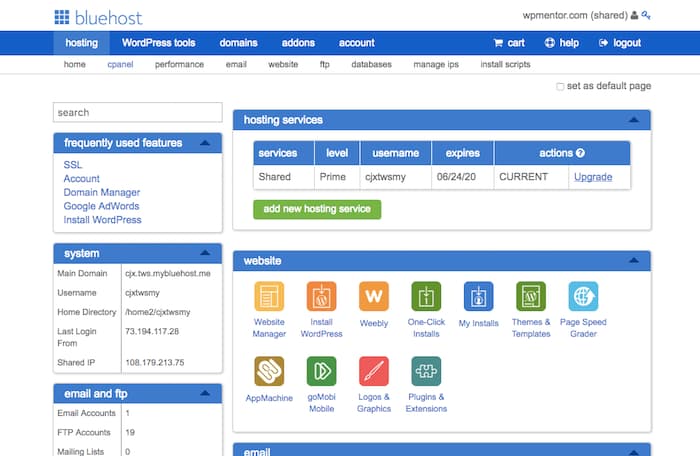
After your signup completes you will be in your blue host cPanel (dashboard).
Step 2: Installing WordPress
Go to the WordPress tools in the menu bar you will see the WordPress tools in the previous screenshot.
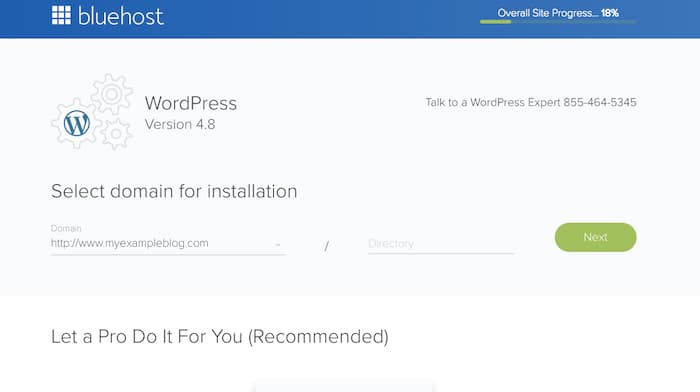
The next screen you will see that you have to select a domain name that you want to install WordPress. In my case my domain name is www.myexampleblog.com.
Install WordPress on the home directory in that way user can access your website by typing directly your domain name.
www.myexampleblog.com otherwise if you add directory like a /blog. your blog will be accessible by www.myexampleblog.com/blog. I would not recommend
I would not recommend adding any directory for your WordPress site home page, unless if there is any necessity.
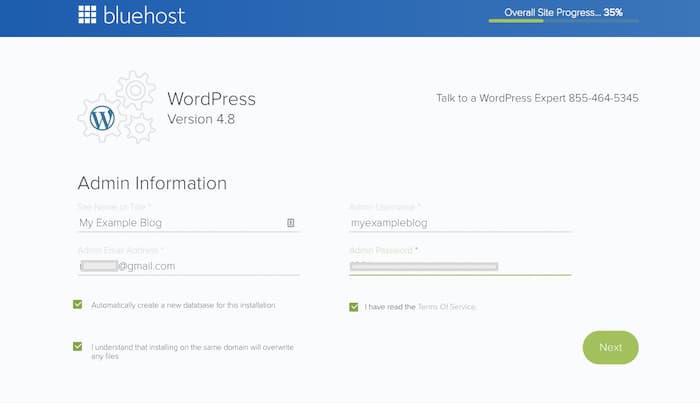
The next step is you have to enter your blog name, Admin username, email, and password.
Keep the check mark on Automatically create a new database for this installation. This will create the new WordPress database automatically.
It will take a couple of minutes to install WordPress, wait for the installation you can see the progress bar for that.

That’s it your WordPress installation is complete.
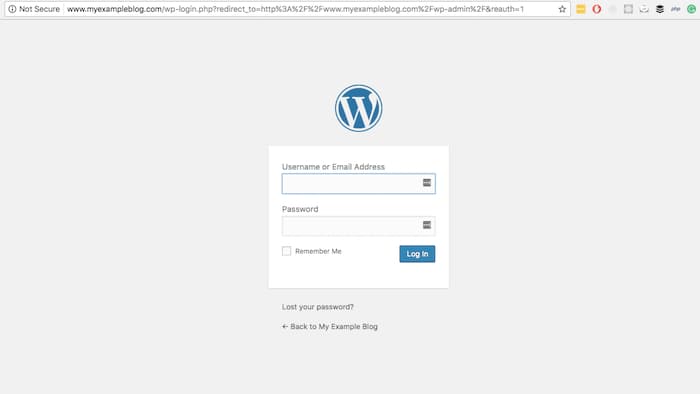
Now go to the URL for www.myexampleblog.com/wp-admin
The above path will be your WordPress administrator path, where you can manage all the things regarding your WordPress blog.
You will see the below screen once you navigate to the URL, enter your credential which you have created during the WordPress installation process.
Boom! You are in your WordPress blog dashboard,
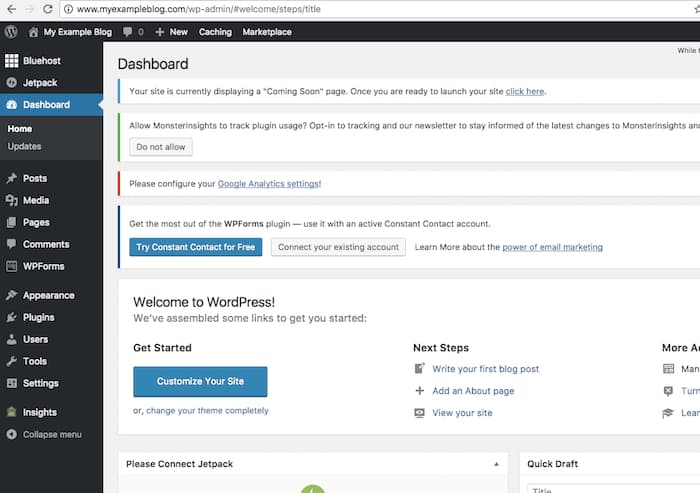
you can check your WordPress blog by going to the URL. In my case www.myexampleblog.com
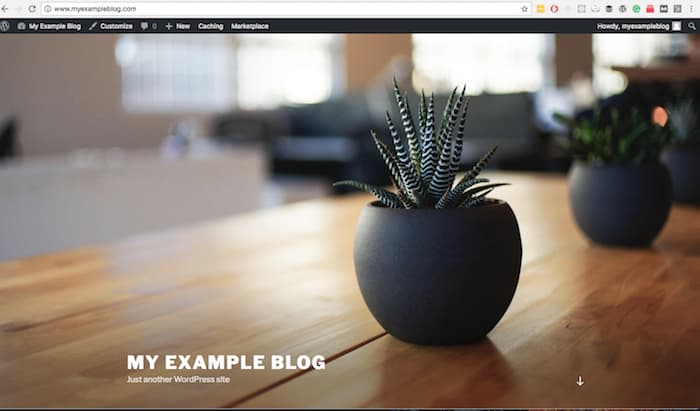
That’s it very simple 2 steps process for WordPress Installation on Bluehost. If you find any difficulties to install WordPress on Bluehost. Just simply contact me I will provide you free installation of WordPress blog on Bluehost. Thank you.

Thank You, today is my first day trying to set up.